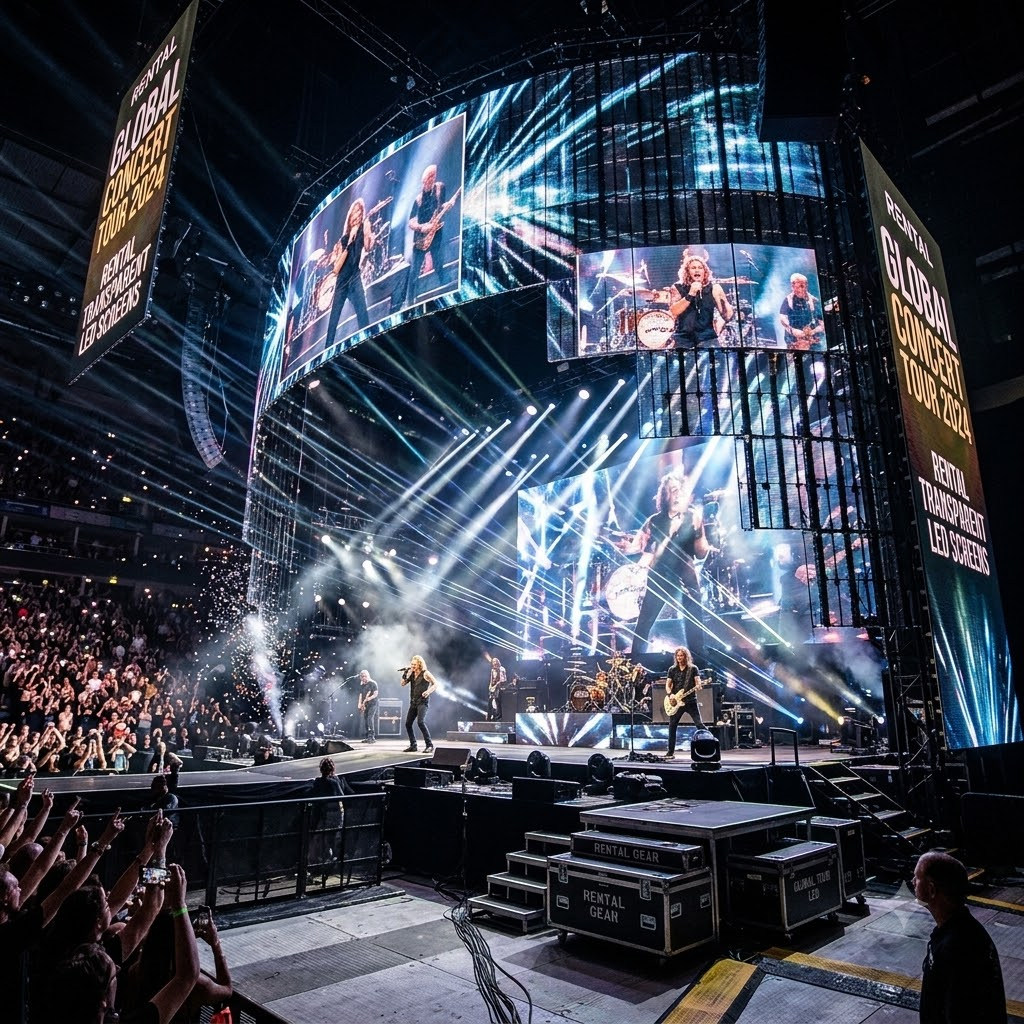
The Role of High-Resolution Testing Grids in Modern Concert Production
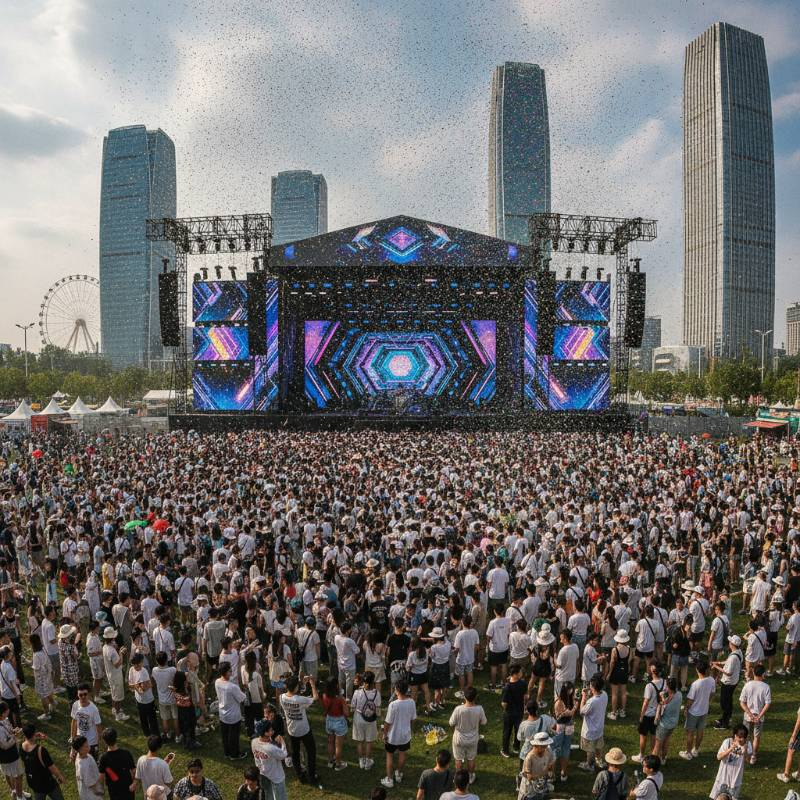
Concert visuals have evolved from simple backdrops into massive, architecturally complex structures. For an LED rental screen to perform under the scrutiny of thousands of fans and high-definition cameras, precision is the only standard. A professional LED screen testing grid for concerts is the most critical tool in an AV technician's kit. It isn't just a graphic; it is a diagnostic map that exposes every flaw in the signal chain.
What is an LED Screen Testing Grid?
An LED testing grid is a specialized high-contrast pattern used to verify the physical and logical mapping of a video wall. During load-in, technicians use these grids to ensure every cabinet is receiving the correct portion of the video signal. Without a proper grid, identifying a swapped data cable or a misconfigured RCFG file becomes a nightmare.
"We define an LED testing grid as a mathematically precise visual overlay used to calibrate pixel-to-pixel alignment, color consistency, and refresh rate synchronization across multi-panel arrays."

At ledwallscreen.com, we emphasize that pixel-to-pixel accuracy is the "Golden Rule" of concert production. If your media server output doesn't match the physical pixel count of the wall, your content will appear soft, aliased, or distorted. A testing grid makes these discrepancies visible instantly.
The Lumina-Sync™ 5-Step Calibration Protocol
According to our analysis of world-class touring rigs, standard testing is often insufficient. We developed the Lumina-Sync™ 5-Step Calibration Protocol to guarantee visual perfection. This methodology moves beyond simple alignment into deep-layer signal integrity.
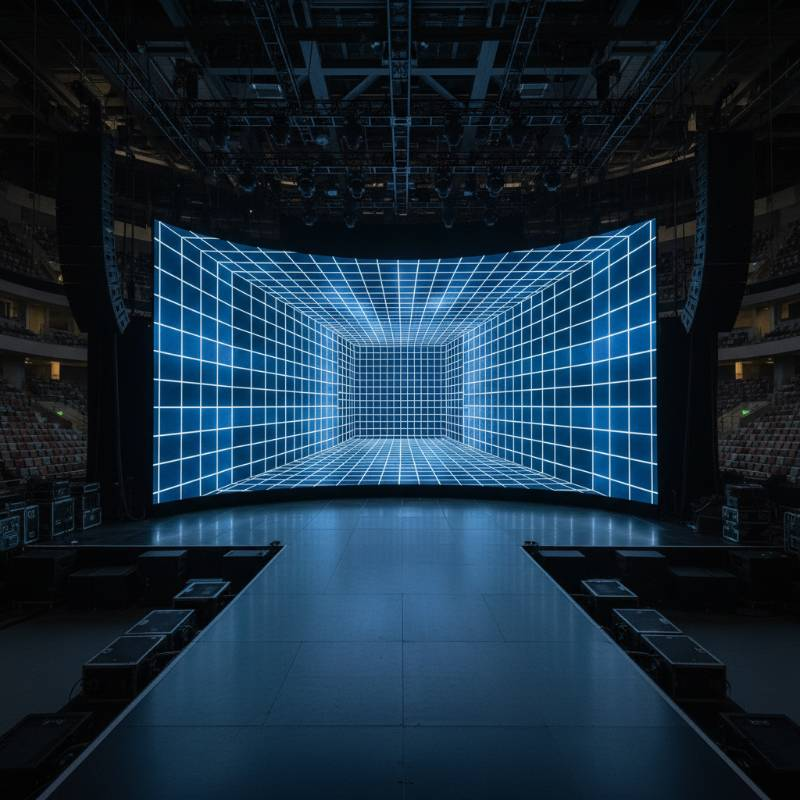
Structural Alignment: Use a 1-pixel white grid on a black background to check panel gaps and physical seams.
Mapping Verification: Deploy numbered grid blocks to confirm the video wall controller address ports match the physical layout.
Luminance Uniformity: Display 50% gray across the entire surface to find "dirty window" effects or dim modules.
Chroma Consistency: Cycle through R, G, and B full-field colors to detect binning issues in the LEDs.
Temporal Sync: Use a moving "pendulum" pattern to verify genlock and eliminate tearing between different processing units.
Optimizing for 4K and 8K: Resolution-Specific Testing Assets
High-density pixel pitches (under 2.5mm) require grids with much finer detail. A standard 1080p grid upscaled to a 4K indoor LED display will hide critical errors. 8K workflows demand assets that test the limits of bandwidth and cable lengths.
When working with ultra-high-definition screens, technicians must account for the SMPTE standards for digital interfaces. Ensure your testing assets are uncompressed. Using a compressed JPEG as a testing grid can introduce artifacts that lead to false-positive troubleshooting.
Advanced Calibration: Color Accuracy, Gamma, and Nits
Concerts are high-contrast environments. Stage lighting often washes out screen content. Adjusting your nits (brightness) and gamma curves is vital. A testing grid should include a grayscale ramp (0-255) to ensure the screen can resolve detail in both deep shadows and bright highlights.
| Parameter | Target Setting | Reasoning |
|---|---|---|
| Brightness (Nits) | 800 - 1200 (Indoor) | Balance against stage wash |
| Refresh Rate | 3840Hz or higher | Eliminate camera flicker |
| Color Temp | 6500K - 7500K | Matches broadcast white balance |
Troubleshooting Visual Artifacts: Moiré Patterns and Refresh Rates
The moiré effect is the "arch-nemesis" of the concert videographer. It occurs when the pixel structure of the LED wall interferes with the camera's sensor grid. To mitigate this, use a fine-line testing grid to find the camera's focus "sweet spot."
Scan lines are another common failure. These are often caused by a mismatch between the screen's refresh rate and the camera's shutter speed. High-end processors like Brompton Tessera or Novastar's flagship series allow for shutter-sync adjustments. Your testing grid must include a fast-moving element to verify that PWM (Pulse Width Modulation) frequency is high enough to avoid dark bands on IMAG (Image Magnification) screens.
Hardware Integration: Controllers and Media Servers
The signal chain is only as strong as its weakest link. A 4K testing grid should be pushed directly from the media server (e.g., Disguise, Green Hippo, or Resolume) through the controller to the panels. This verifies that the EDID (Extended Display Identification Data) is correctly negotiated across the entire chain.

At ledwallscreen.com, we recommend using fiber optic links for any run over 100 feet. Copper Ethernet can introduce signal lag or EMI (Electromagnetic Interference) in high-voltage concert environments, which shows up as "sparkle" or dropped pixels on a solid black testing grid.
Pre-Show Technical Checklist for LED Technicians
Run this checklist 2 hours before doors open. Use a dedicated LED screen testing grid for concerts to verify each point.
Dead Pixel Sweep: Cycle Red, Green, Blue, and White. Mark and replace modules with "always on" or "dead" pixels.
Seam Check: Run a 1px white grid. Tighten hardware latches where black lines (gaps) or bright lines (compression) appear.
Data Redundancy: Disconnect the primary feed to ensure the backup loop takes over without a flicker.
Thermal Check: Monitor cabinet temperatures via the controller software after 30 minutes of "full white" testing.
Genlock Status: Confirm all controllers are locked to the house sync pulse.
Frequently Asked Questions About LED Screen Testing
Why does my testing grid look blurry?
Blurriness usually indicates a scaling issue. Ensure your media server output resolution matches the controller's input resolution exactly. Disable any "fit to screen" settings that might be stretching the image.
Where can I download a professional testing grid?
Most high-end controllers have built-in patterns. However, for custom resolutions, you can generate grids using tools like "Test Pattern Generator" or download 4K/8K assets from reputable AV resource sites.
How do I fix color mismatch between two different LED batches?
This requires chroma calibration. Using a colorimeter and your controller's software, you can adjust the coordinates of the R, G, and B primaries to match the older batch. The Lumina-Sync™ protocol is designed specifically to address these batch inconsistencies.
Ready for Your Next World Tour?
Don't leave your visual impact to chance. Our engineering team provides the highest grade LED hardware and technical support for global concert tours.
Explore Professional LED Solutions