Curved LED Screen Installation Guide: From Planning to Seamless Setup
Installing a curved LED wall screen transcends a simple display setup; it's about crafting an immersive visual spectacle that captivates audiences. This comprehensive guide outlines every critical stage, from meticulous initial design to a seamless final setup. By following these expert steps, your curved LED wall screen will deliver unparalleled impact and reliability, perfect for dynamic events, cutting-edge retail environments, broadcast studios, and innovative experiential marketing.

Why Elevate Your Space with a Curved LED Screen?
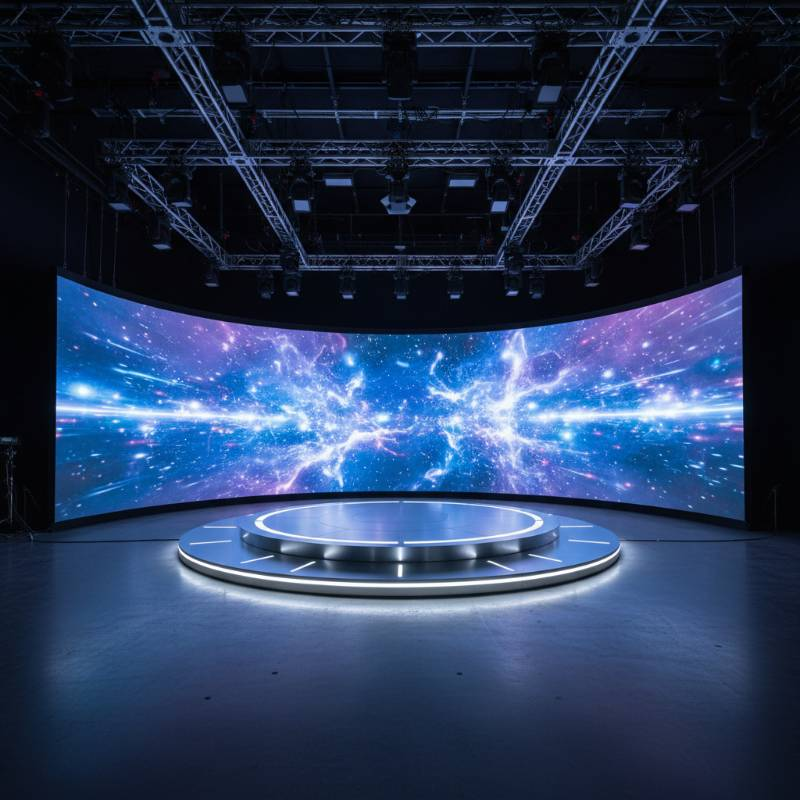
Curved LED screens offer distinct advantages over traditional flat displays, significantly elevating visual communication and audience engagement. Their unique, wrapping form factor creates a more natural and encompassing viewing experience, drawing observers deeper into the displayed content.
Experience Unmatched Immersive Visuals
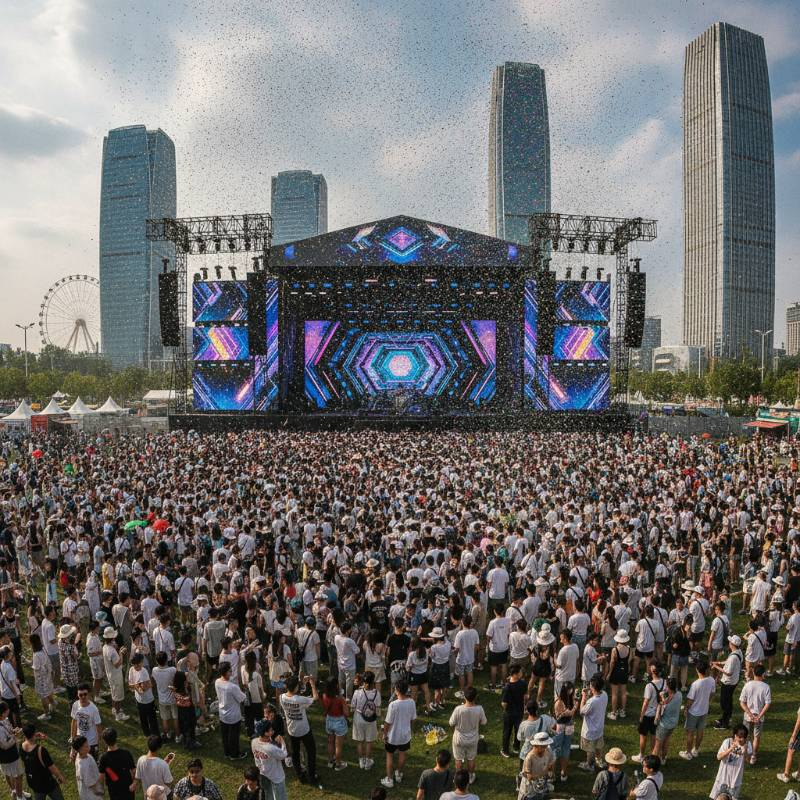
A curved display gently envelops the viewer's peripheral vision, generating a profound sense of depth and immersion that flat screens simply cannot replicate. This effect is particularly powerful for large-scale installations in grand arenas, interactive museums, or prestigious corporate lobbies, where capturing and holding an audience's attention is paramount.
Combine Aesthetic Appeal with Design Flexibility
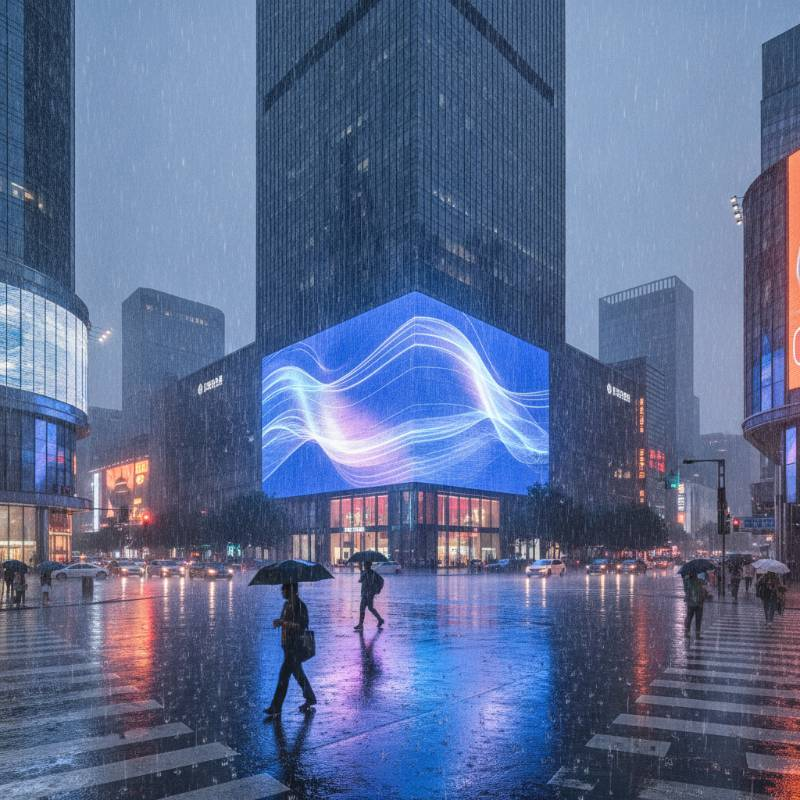
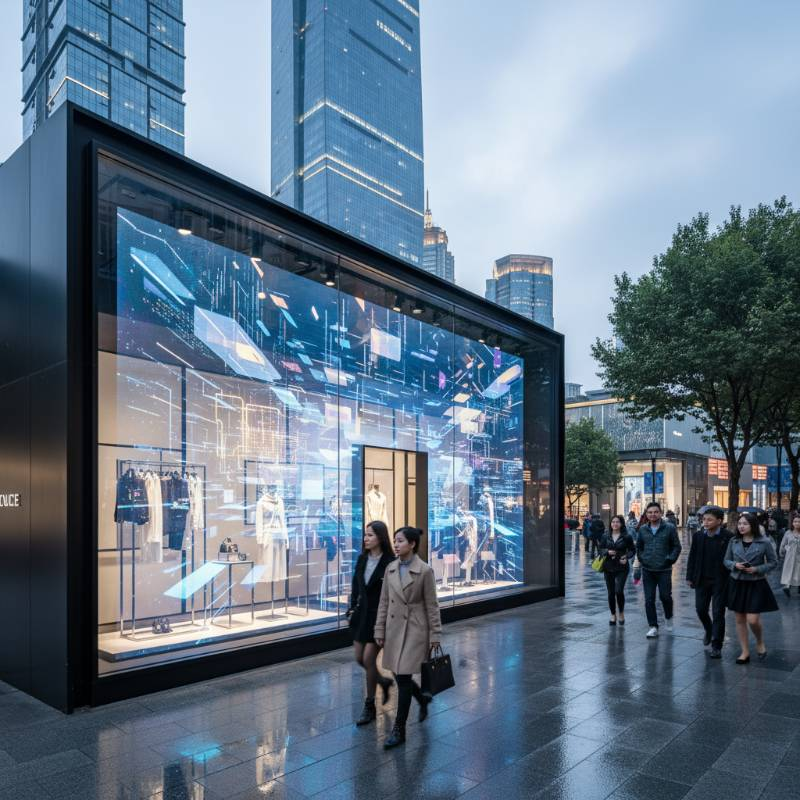
Beyond their functional superiority, curved LED screens serve as striking architectural statements. They integrate flawlessly into diverse environments, complementing modern aesthetics and introducing a futuristic flair. The ability to precisely customize the curvature empowers designers to achieve unique artistic expressions and weave compelling brand narratives.
Boost Engagement & Maximize ROI
The inherently immersive nature of curved displays naturally fosters higher audience engagement. Whether showcasing products with captivating flair in retail, providing dynamic, living backdrops for broadcast segments, or crafting unforgettable experiences at events, increased engagement directly translates into enhanced brand recall and a stronger return on investment for your visual communication strategy.
Phase 1: Meticulous Planning and Design – The Foundation of Success
The successful installation of your curved LED wall screen hinges entirely on thorough and precise planning. This crucial initial phase defines the project's exact scope, technical specifications, and ultimate aesthetic ambitions.
Understanding Your Project's Unique Requirements
Location & Environment: Carefully assess whether the installation is indoors or outdoors. For outdoor applications, prioritize screens with appropriate IP ratings for water and dust resistance, along with broad operational temperature ranges. For indoor spaces, consider how ambient light might affect brightness, and critically, how HVAC systems will manage the heat generated by the screen. Maintaining optimal temperature and humidity levels is vital for preventing component damage and significantly extending the display's lifespan.
Viewing Distance & Angle: These factors are critical in determining the ideal pixel pitch (the distance between LED clusters) and overall screen dimensions to ensure optimal clarity and visual comfort for your audience.
Curvature Radius: This measurement is paramount for selecting compatible, pre-curved LED modules and for designing a perfectly matched, structurally sound support framework.
Content Strategy: Clearly define what content will be displayed. This decision profoundly impacts required resolution, aspect ratio, and the complexity of the video processing system needed.
Prioritizing Structural Integrity & Load Bearing Capacity
A curved LED display, especially a large-scale installation, can carry significant weight. Therefore, the chosen mounting surface—be it a wall, ceiling, floor, or a dedicated truss system—must be rigorously evaluated for its load-bearing capacity. Custom fabrication of the support frame is almost always required to precisely match the display's specific curvature and ensure even weight distribution.
Designing a Robust Electrical & Data Infrastructure
An adequate power supply and a resilient data distribution network are non-negotiable for flawless operation. Plan for sufficient dedicated power circuits, meticulous cable management, and redundant signal routing, particularly for critical installations where uptime is paramount.
Seamless Content & Display Software Integration
Confirm that your chosen content management system (CMS) and media servers are fully compatible with the display's native resolution and aspect ratio. For curved surfaces, advanced video processors are frequently necessary for seamless image scaling, geometric correction, and distortion-free playback.
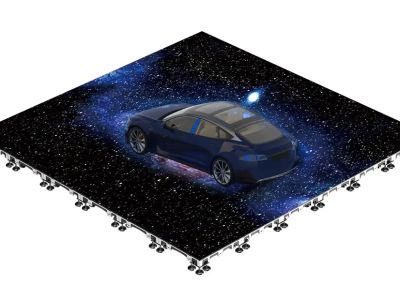
Selecting the Right Curved LED Modules
Crucially, not all LED modules are designed for curvature. Select modules specifically engineered for curved applications, paying close attention to their cabinet design, pixel pitch, and the manufacturer's specified curvature capabilities and limitations.
Phase 2: Pre-Installation & Thorough Site Preparation
Once the comprehensive planning phase concludes, the focus shifts to meticulously preparing the installation site and all components, ensuring a smooth and efficient physical setup.
Conducting a Final Site Survey & Precise Measurements
Execute a final, precise site survey to rigorously verify all on-site measurements against the detailed design specifications. Any discrepancies must be identified and resolved *before* any physical installation commences.
Receiving and Meticulously Inspecting Components
Upon delivery, meticulously inspect every LED module, power supply, control system, and structural component for any signs of shipping damage. Organize all components logically at the installation site to streamline the assembly process and prevent delays.
Preparing the Custom Mounting Structure
Fabricate and install the custom mounting structure precisely according to the engineered drawings. This structure must be perfectly aligned, securely anchored, and capable of providing the exact curvature and unwavering support required for the LED modules.
[VIDEO: Pre-installation checklist and site preparation for curved LED walls]
Phase 3: The Precision Installation Process
This phase encompasses the physical assembly, secure mounting, and intricate connection of all curved LED wall screen components.
Securely Mounting the Support Structure
Firmly fasten the custom support frame to the prepared wall, ceiling, floor, or truss system. Achieving absolute precision in this step is paramount for ensuring the overall stability, structural integrity, and perfect visual alignment of the curved display.
Assembling Curved LED Cabinets with Care
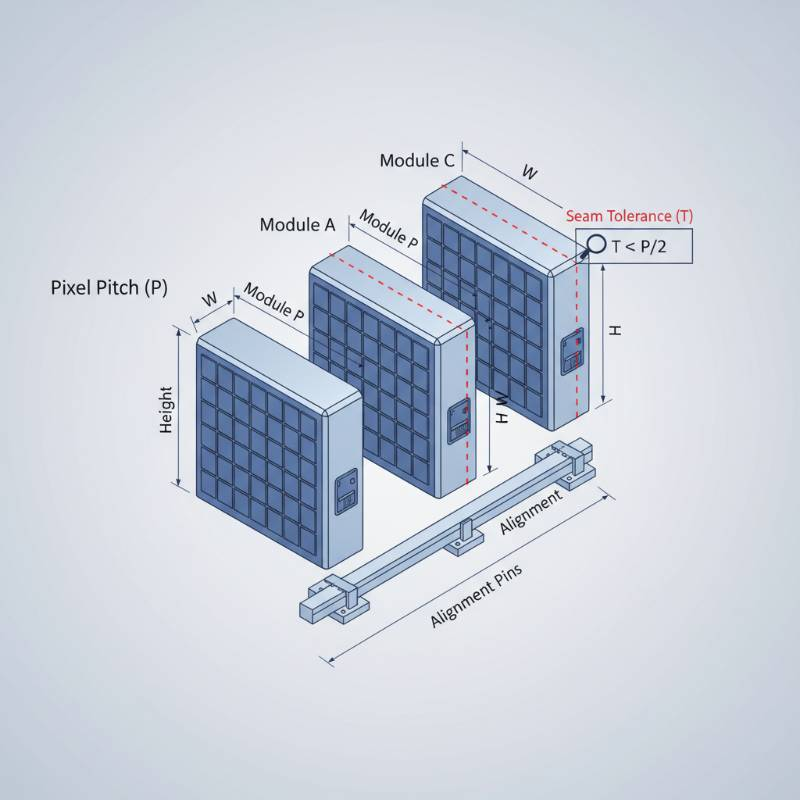
Begin installing the curved LED cabinets, typically starting from the bottom-most or central point and meticulously working outwards. Each cabinet must be precisely locked into place, ensuring robust mechanical integrity and forming a perfectly seamless curved surface. Proper alignment of all connections is absolutely vital.
Establishing Robust Electrical and Data Connections
Connect power cables to each individual LED cabinet, ensuring proper and balanced power distribution across the entire display. Subsequently, establish all necessary data connections (e.g., high-speed Ethernet cables) between cabinets and to the central control system. Always strictly adhere to manufacturer guidelines for daisy-chaining and signal routing to prevent issues.
Initial Power-Up and Essential Calibration
Once all electrical and data connections are securely established, power up the curved LED wall screen for the first time. Conduct immediate initial checks for any dead pixels, verify individual module functionality, and assess basic color uniformity across the display. Address any immediate issues or anomalies.
Phase 4: Post-Installation & Rigorous Commissioning
The final phase ensures your curved LED display is fully optimized, rigorously tested, and perfectly ready for continuous, flawless operation.
Advanced Calibration & Meticulous Fine-Tuning
Perform advanced calibration using specialized software to achieve precise brightness, contrast, white balance, and geometric correction across the entire curved surface. This intricate step is absolutely critical for a uniform, vibrant, and visually stunning display free of imperfections.
Seamless Content Management System (CMS) Setup
Configure the Content Management System (CMS) to seamlessly deliver content to the curved LED screen. This includes ensuring correct content scaling, setting up scheduling parameters, and verifying flawless playback functionality across the unique display geometry.
Comprehensive Testing & Quality Assurance
Execute extensive tests with a diverse range of content types to rigorously verify performance, long-term stability, and overall reliability. Diligently check for any anomalies, flickering, synchronization issues, or visual artifacts under various operating conditions.
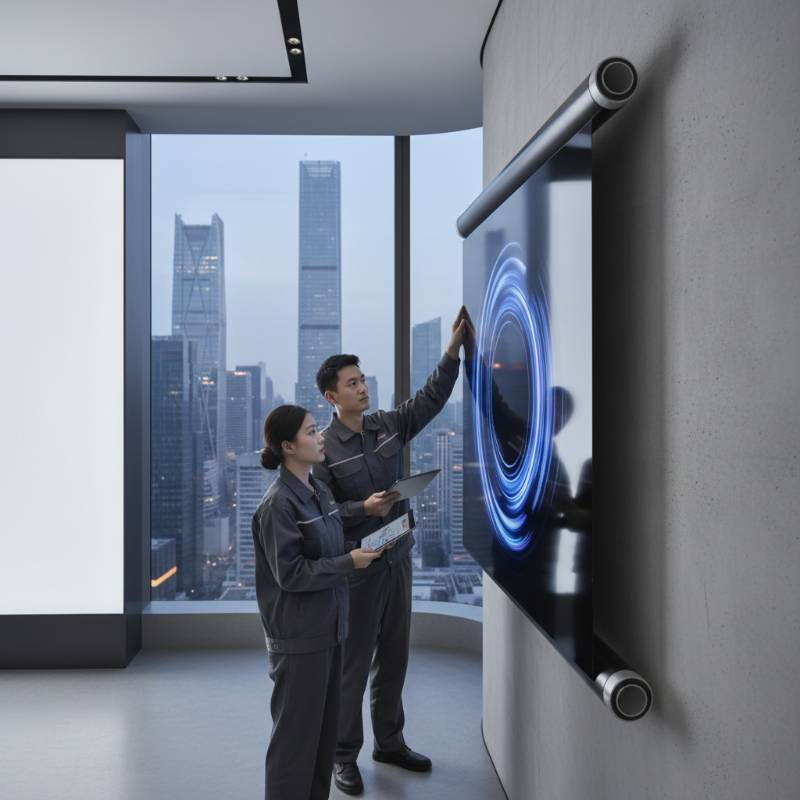
Thorough Training for Operators
Provide comprehensive, hands-on training to the client's designated operators. This training should cover the intricacies of the control system, effective content management strategies, and essential basic troubleshooting techniques specific to the new curved LED wall screen.
Key Considerations for Achieving a Seamless Setup
Ensuring the long-term success and optimal performance of your curved LED display extends beyond the initial installation itself.
Engage a Professional Installation Team
Always engage certified and highly experienced professionals who specialize exclusively in large-scale LED display installations. Their expertise is invaluable for navigating complexities, proactive problem-solving, and ensuring adherence to stringent safety protocols, especially for intricate curved configurations.
Adhere Strictly to Safety Protocols
Strictly adhere to all relevant safety regulations and industry best practices throughout every single stage of the installation process. This includes proper scaffolding setup, comprehensive fall protection measures, rigorous electrical safety protocols, and clear team coordination to prevent accidents.
Proactive Maintenance & Reliable Support
Establish a regular, proactive maintenance schedule and secure a clear, responsive support plan. This should encompass routine software updates, thorough hardware checks, and rapid response mechanisms for any technical issues, ensuring the continuous, optimal performance of your curved LED wall screen.
Common Pitfalls in Curved LED Screen Installation & How to Avoid Them
Even with meticulous planning, certain challenges can arise. Being aware of these common pitfalls helps ensure a smoother project.
Underestimating Environmental Impact: Ignoring temperature, humidity, or direct sunlight can lead to premature component failure, color shifting, or reduced lifespan. Avoidance: Conduct a detailed environmental assessment early, select appropriately rated modules, and ensure adequate HVAC/ventilation.
Inadequate Structural Support: Failing to account for the display's weight or improper frame fabrication can lead to instability, warping, or even collapse. Avoidance: Engage structural engineers for load calculations and use custom-fabricated frames designed specifically for the curvature and weight.
Insufficient Power/Data Infrastructure: Overlooking power draw or neglecting robust data distribution can cause flickering, signal loss, or system outages. Avoidance: Plan for dedicated, ample power circuits and redundant data routing; consult with electrical engineers.
Poor Calibration: Rushing the post-installation calibration leads to visible seams, uneven brightness, or inaccurate colors, diminishing the immersive effect. Avoidance: Allocate sufficient time for advanced software-based calibration by trained technicians to achieve perfect uniformity.
Curved LED Wall Screen Installation: FAQ
Q: What is the typical lifespan of a curved LED screen?
A: With proper installation, regular maintenance, and operation within specified environmental conditions, a high-quality curved LED screen typically has a lifespan of 8 to 10 years, or often more, before significant brightness degradation occurs.
Q: Can existing content be easily adapted for a curved display?
A: Yes, existing content can usually be adapted. Modern video processors and content management systems are designed to scale, warp, and geometrically correct content to fit the unique aspect ratio and curvature of an LED display, though some advanced planning may be required for optimal results.
Q: What kind of maintenance does a curved LED wall screen require?
A: Regular maintenance includes checking for loose connections, cleaning modules, performing software updates, inspecting power supplies, and recalibrating for brightness and color uniformity. A service contract with the installer is highly recommended.
Q: How long does a typical curved LED wall installation take?
A: Installation time varies significantly based on screen size, complexity of curvature, site conditions, and team size. Simple installations might take days, while large, intricate curved walls can take several weeks from start to finish, not including planning phases.
Conclusion
A flawlessly executed curved LED screen installation is a testament to meticulous planning, profound technical expertise, and unwavering precision. By diligently following this comprehensive guide—from initial design concepts and environmental assessments to final commissioning and operator training—you can ensure your immersive LED display not only meets but dramatically exceeds all expectations, delivering unparalleled visual impact and profound audience engagement for years to come.